During this post we will discuss an interesting scenario to integrate Snowflake and salesforce. As per the need we don’t want to get data to be ingested into Salesforce from Snowflake. Salesforce users want to have the access of Snowflake data without moving it. They want the data should be readily available to them in dashboard or visualization form. Business want to visualize some trends on the data in snowflake so that they can make decisions.
Though we can use the custom approach like develop Python framework to get data from Snowflake and present into Salesforce. Or we can leverage third party ETL tools but for this scenario me and my colleague Gautam has focused on Salesforce product features. Salesforce Analytics studio provides below out of box or vanilla four ways to integrate these two systems.
Salesforce to Snowflake:
- Tableau CRM Sync Out: connector to provide integration among Salesforce with Snowflake. Moreover, Connector moves Salesforce data directly into Snowflake.
- Output Connector: Using Recipe to load data into Snowflake.
Snowflake to Salesforce:
- Snowflake Connector: Using Recipe to extract data from Snowflake and load into Salesforce objects
- Direct Data Connector: Access data stored in Snowflake without moving or duplicating data in Salesforce. Here the data is not pushed or ingest to the salesforce objects but we can query directly within a snowflake. We call it as a “live connection”.
Salesforce Analytics studio has great feature called “Direct Connector” which helps you to connect snowflake in real time. By real time I mean as soon as any changes are done to the snowflake tables the same would be reflected in Salesforce Dashboard.
Technical implementation:
Technical implementation:
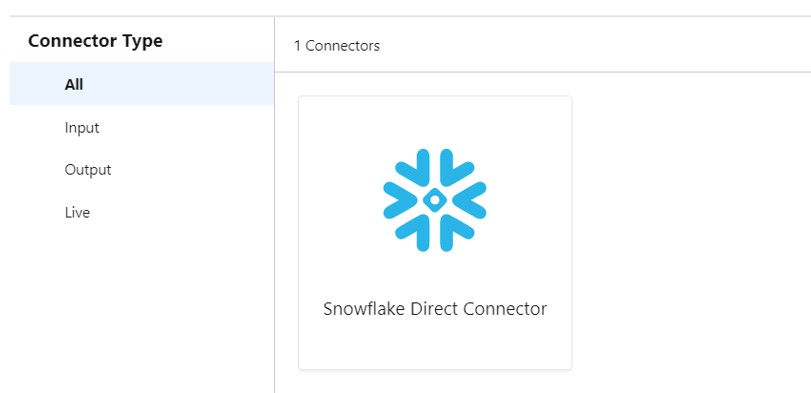
- Firstly, Goto: Analytics Studio -> Data Manager – > Connections -> New Connection
- Search for Snowflake Direct Connector:
- Enter your Snowflake details like below
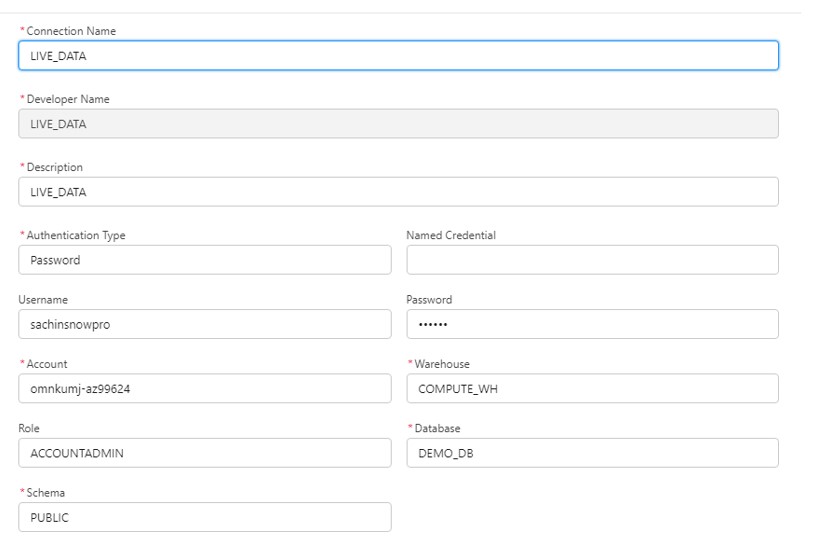
- Save and test connection
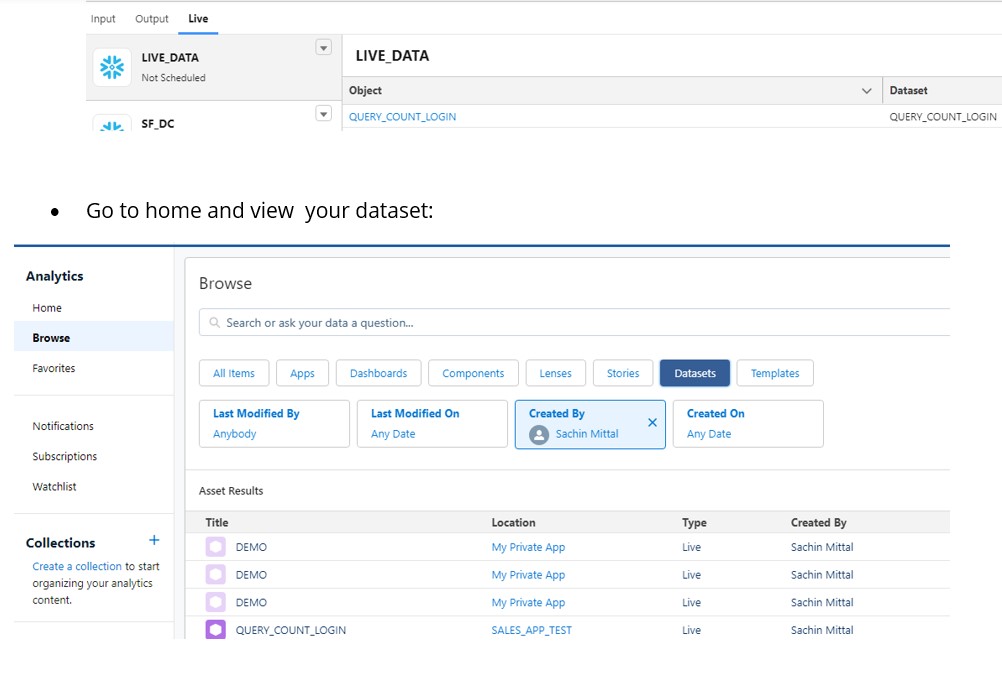
- A connection will be created under “Live” section
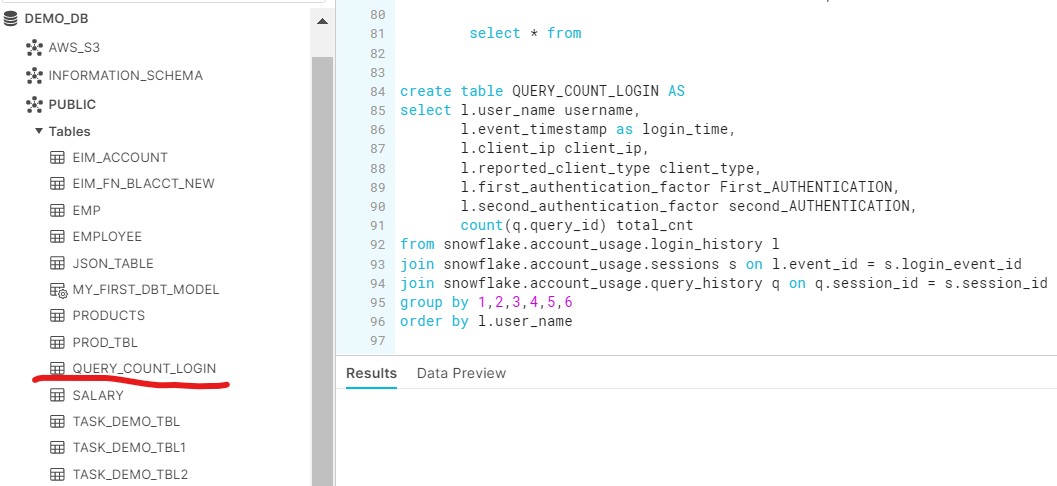
- Click on Edit objects: It will display all the objects belong to the Role in your snowflake account
- Currently we have below listed object in Snowflake and will select QUERY_COUNT_LOGIN object in Salesforce window.
- Select your object name which needs to be available in Salesforce.
- Click on your dataset and it will open a visualization window
- On left ,select the desired columns you want to show in your report.
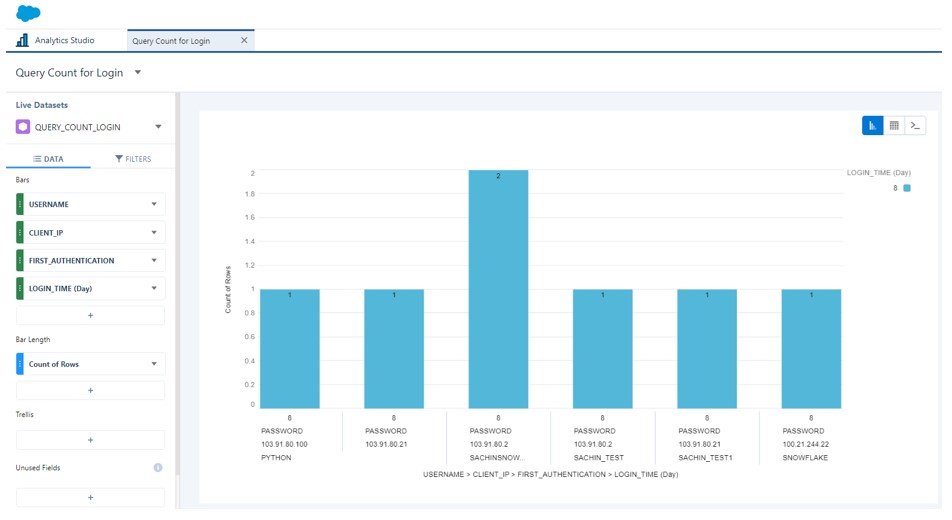
- On right side we have options of Charts, select the chart of your choice.
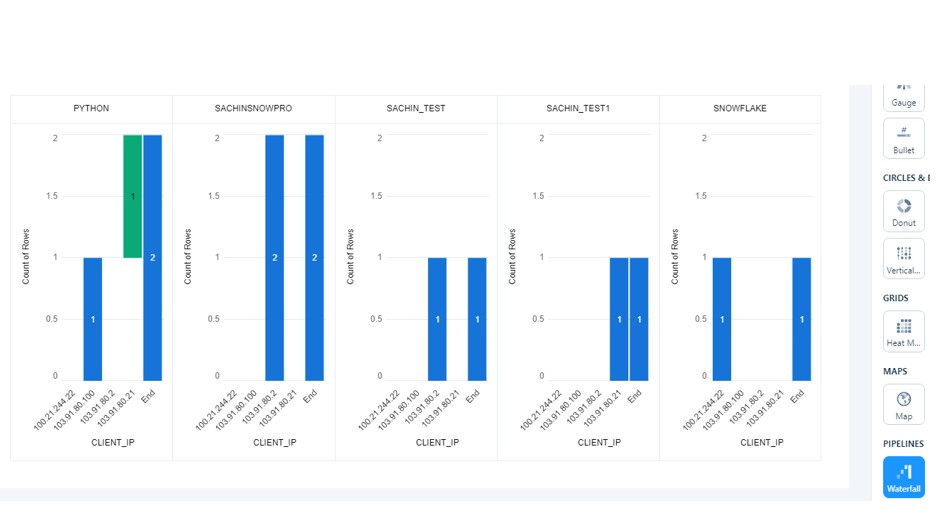
- Now add some data to the snowflake table and observe the chart in salesforce. IT will be update automatically base on the value in snowflake.
Note: I have not experienced on visualization and this report might be very basic for most of the folks but my intent was to showcase the integration.