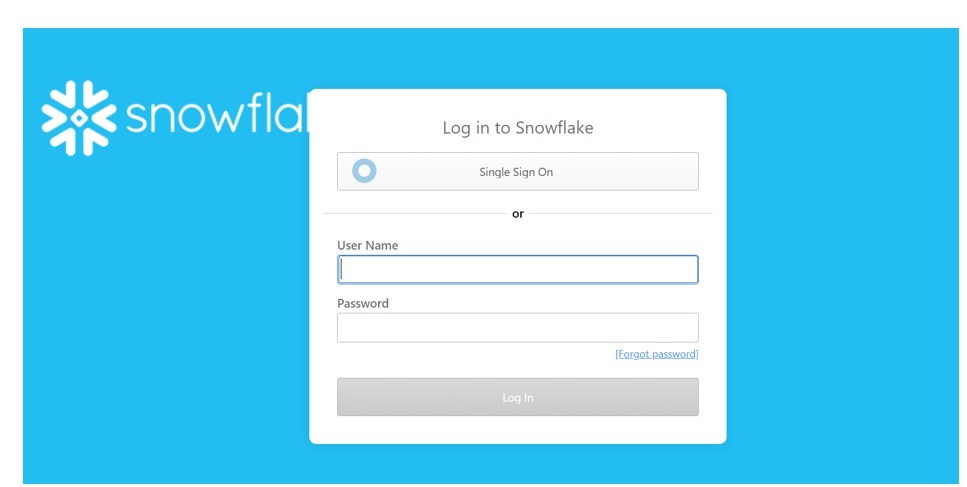
Snowflake with OKTA SSO: Snowflake is really good at protecting your data from strangers. One of the frequently exploited feature answering this question is implementing single sign on (SSO) and federated authentication.
Federated Authentication and SSO:
· In a federated environment, user authentication is separated from user access. Therefore, a federated environment consists of the following components:
Service provider (SP): In a Snowflake federated environment, Snowflake serves as the SP.
Identity provider (IDP): The external, independent entity responsible for providing the following services to the SP:
o Firstly, Creating and maintaining user credentials and other profile information.
o Secondly, Authenticating users for SSO access to the SP.
However,SAML 2.0 is probably the most popular providers of SSO solutions.
One of the providers that is frequently used for the cloud-based SSO is Okta. Snowflake platform supports SAML 2.0 and can be easily configured into SSO with Okta.
Above all, Configuring Snowflake with OKTA SSO is very straightforward.
Configure Steps:
- Firstly, Create an OKTA account for your company or organization using “https://www.okta.com/” or “https://developer.okta.com“.
- Secondly, Log into your OKTA account as a user with administrator privileges.
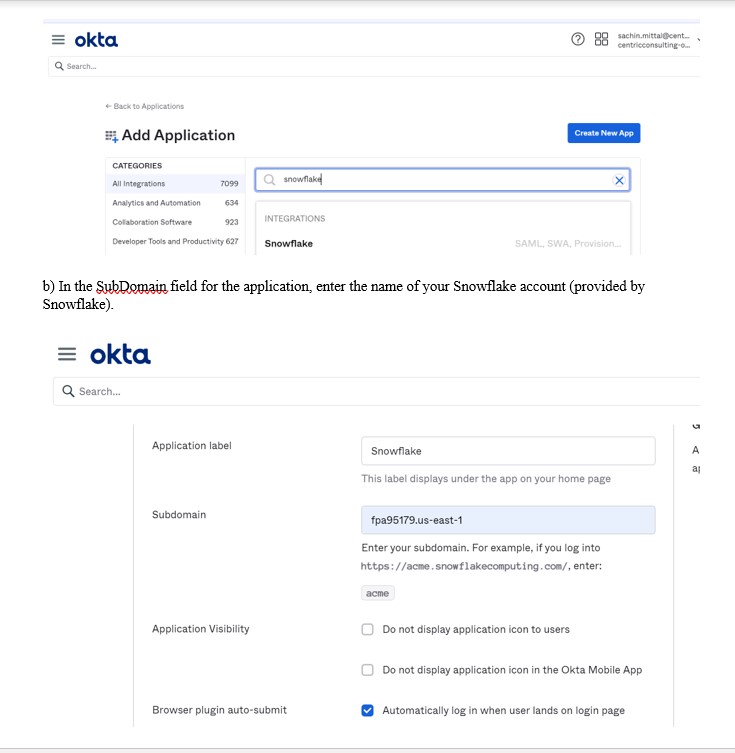
3. Create a Snowflake application in OKTA:
a) In the Label field for the application, you can specify any name.
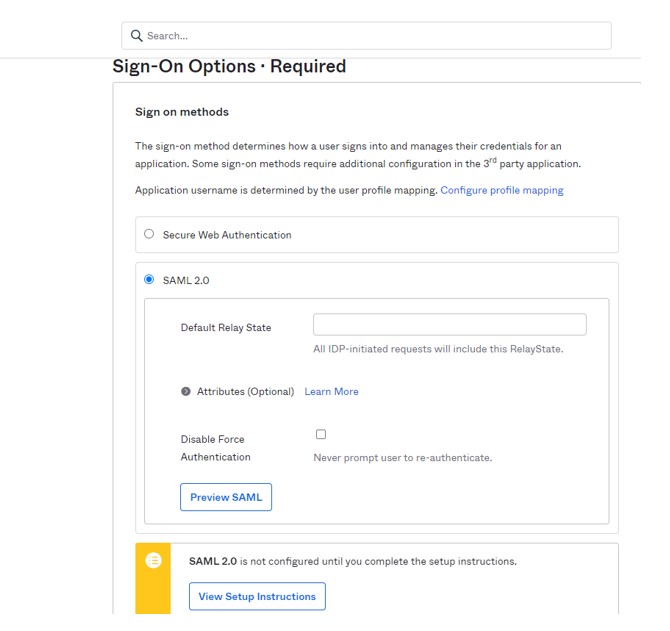
4) Configure SAML 2.0 as the Sign On method for the Snowflake application you created:
a) In the Sign On tab, uncheck the “Disable Force Authentication”
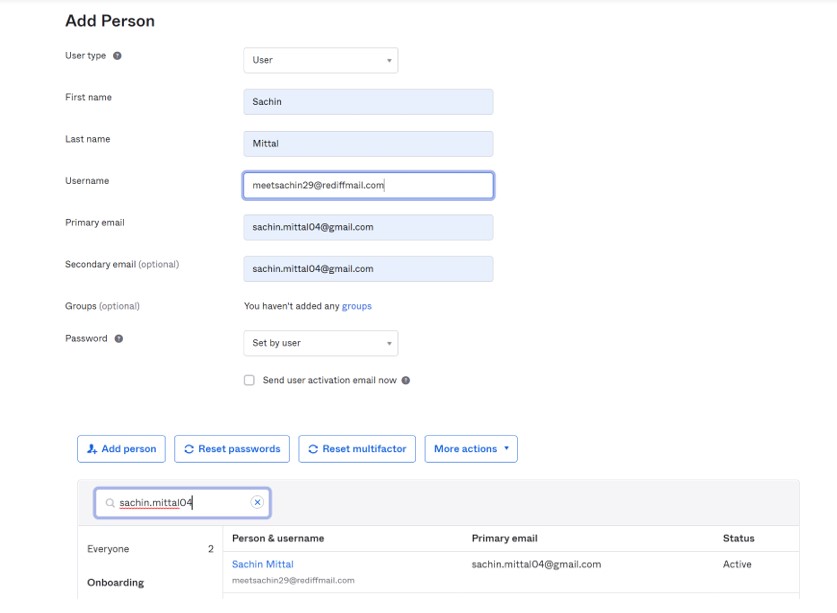
5) After that, Assign the OKTA users you created to the Snowflake application in OKTA.
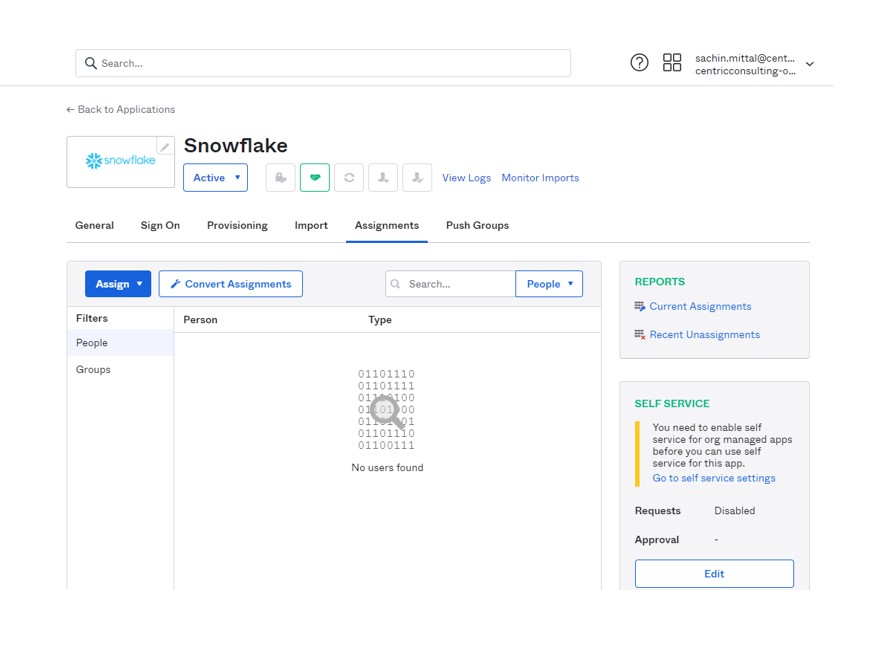
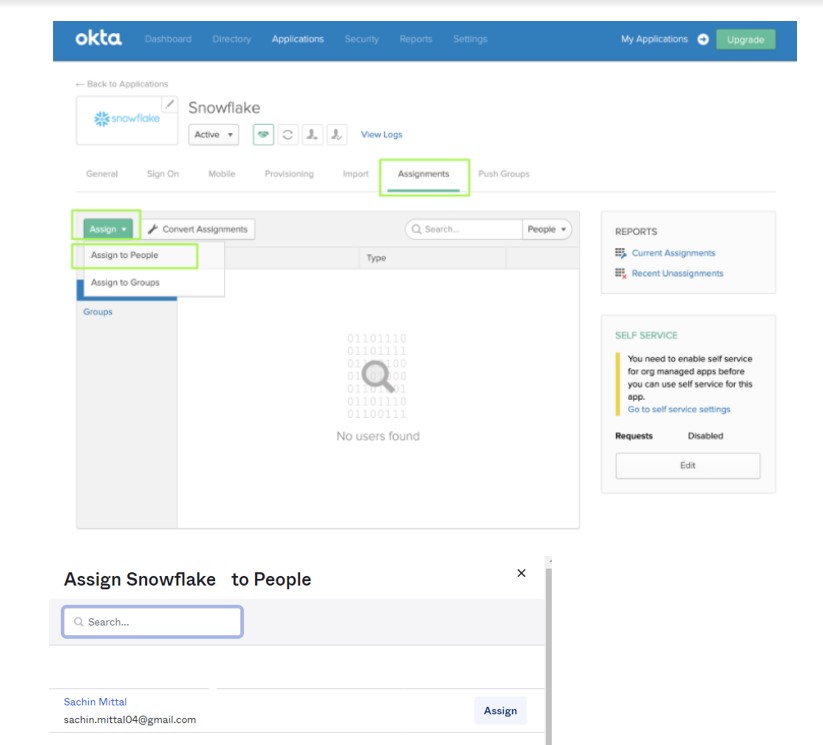
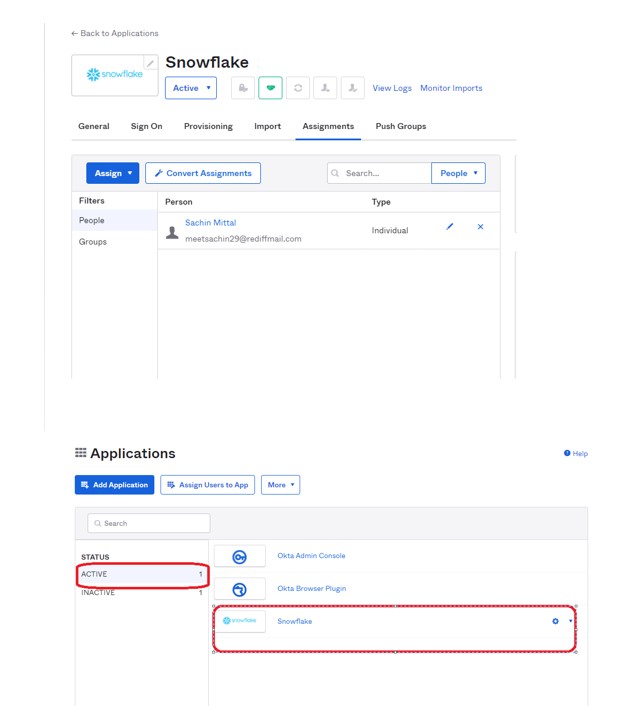
- Gather the required information from the setup instructions:
- Certificate
- IDP SSO URL
However, To retrieve the Certificate/ IDP SSO URL of your OKTA Account:
- Navigate to the OKTA Admin Console.
- Select the Snowflake Application created earlier.
- Click on the Sign On tab.
- Click on the Identity Provider metadata link and download the XML document.
- After that, Open the downloaded XML document, locate the Certificate XML Attribute and Location Attribute and copy these values which will be referenced in next step
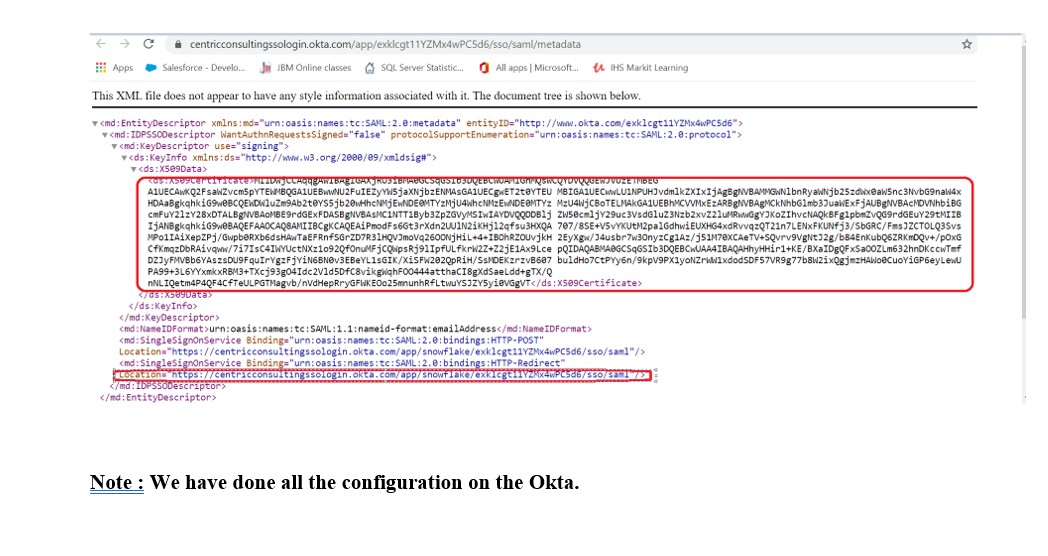
Snowflake Configuration:
Snowflake Configuration:
1.Specify IDP Information for Snowflake:
For instance, To enable an IDP for federated authentication, Snowflake requires the following information from the IDP:
- Firstly, Authentication certificate.
- Secondly, URL endpoint for SAML requests.
This information is specified through the SAML_IDENTITY_PROVIDER account parameter. This parameter accepts a JSON object, enclosed in single quotes.
use role accountadmin;
alter account set saml_identity_provider = ‘{
“certificate”: “[your_certificate]”, //Obtained in step 6 during XML read
“ssoUrl”: “[your_ssoUrl]”, //Obtained in step 6 during XML read
“type”: “OKTA”
}’;

2: Create Users in Snowflake
a) Log into Snowflake as a user with either the ACCOUNTADMIN or SECURITYADMIN role. Create users, if they do not already exist, that match the users that you created in your IDP.
CREATE USER “meetsachin29@rediffmail.com” PASSWORD = ‘*************’ LOGIN_NAME = ‘meetsachin29@rediffmail.com’ DEFAULT_ROLE = “ACCOUNTADMIN” DEFAULT_WAREHOUSE = ‘COMPUTE_WH’ MUST_CHANGE_PASSWORD = FALSE;
GRANT ROLE “ACCOUNTADMIN” TO USER “meetsachin29@rediffmail.com”;
