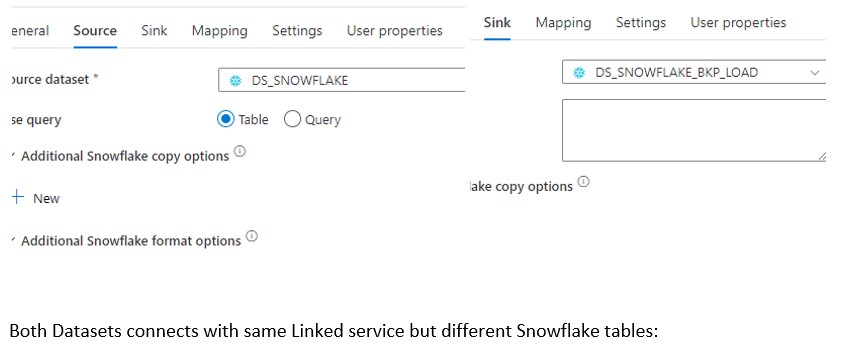
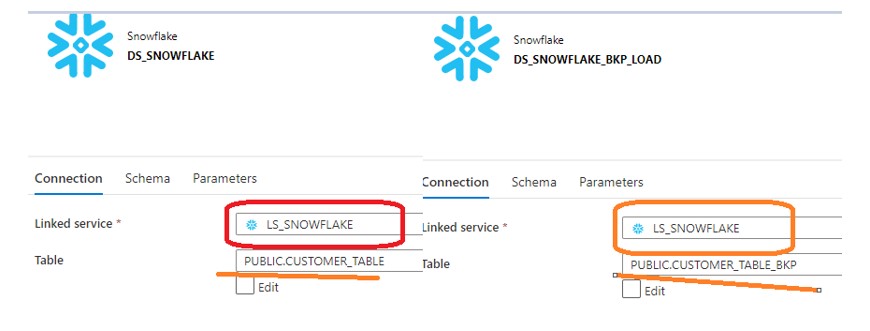
During this post we are going to discuss how Snowflake ODBC connector use with Azure Data factory to ingest data into Snowflake hosted on AWS cloud platform. As per the requirement Snowflake Account hosted on AWS cloud and will be used as Target database. A pipeline needs to be develop in ADF which will pull the data from Blob area and sink into Snowflake account. At first glance the requirement seems pretty straightforward and will use the COPY activity to fetch data from source and load into AWS Snowflake. For below scenario, I used both Source and Target on same AWS Snowflake account with two different datasets.
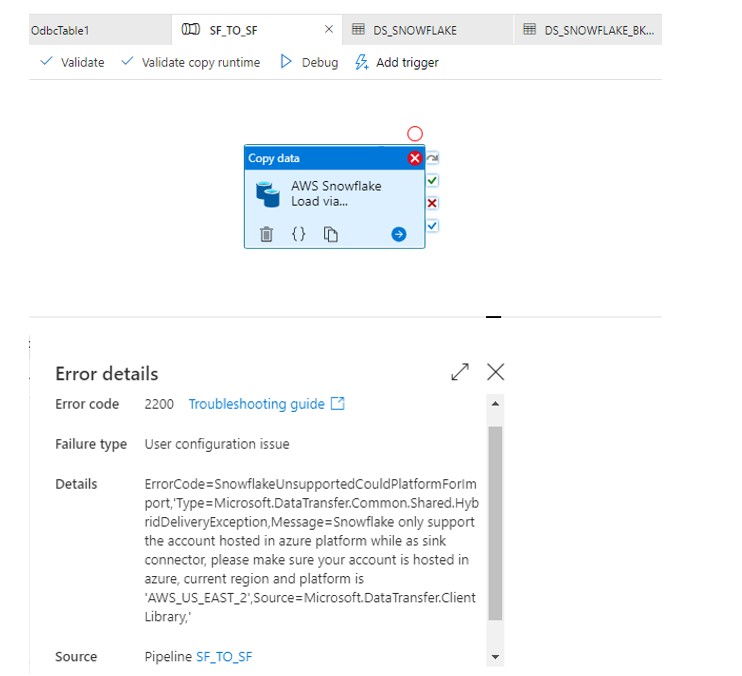
Now COPY activity is ready to execute. When start debugging the pipeline surprisingly got the below error.
As per the error we can use only Snowflake hosted on AZURE as sink connector. Our Snowflake account is hosted on AWS cloud platform and ADF does not support in sink. Though you can use the AWS Snowflake account as Source and ADF connects it successfully.
Try to query the Table host on Snowflake AWS cloud and we could able to connect successfully.

So now question comes, Do we have any other approach to ingest data into Snowflake (AWS) via Azure Data factory.
Yes, Snowflake ODBC driver Extends Data Solutions to Snowflake on Azure.By configuring the snowflake ODBC driver with ADF we can ingest the data into AWS hosted Snowflake.
Configuring this solution is not straight forward and need to perform the below steps to implement the same in your environment.
Configure
1: Install Snowflake ODBC driver on machine:
- Down load and Install the ODBC driver setup(64 bit) from the downloads available on snowflake console.
- Open ODBC data sources (64-bit) and create a new data source.
- Configure the connection like below.
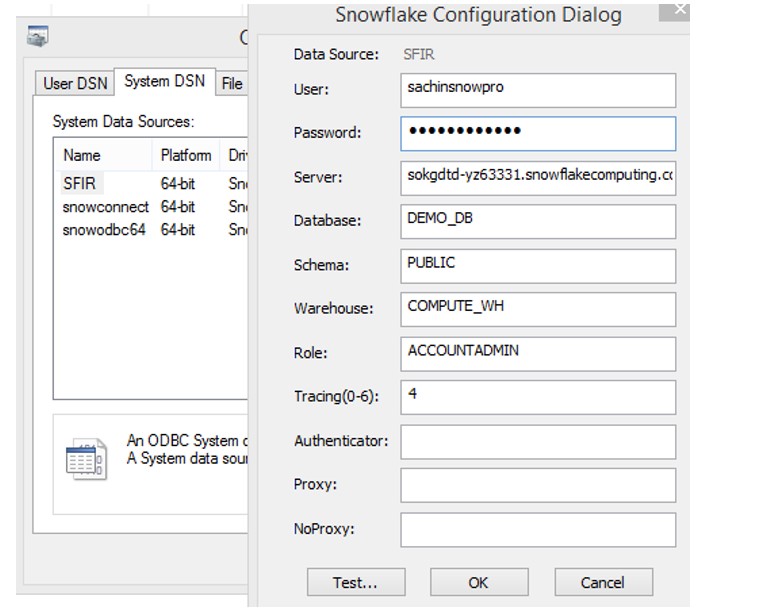
Note: Please create this DSN inside the system DSN. I had difficult time while testing the connection with Linked service,(Discuss in upcoming section).
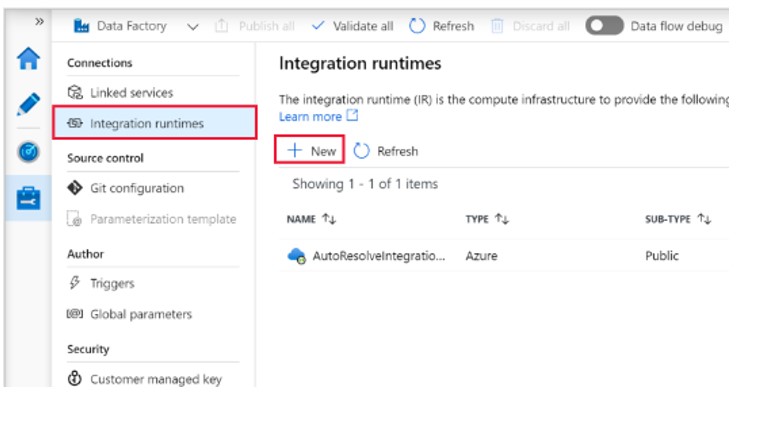
2: Install and configure Azure integration runtime:
- Select Integration runtimes on the left pane, and then select +New.
2. On the Integration runtime setup page, select Azure, Self-Hosted, and then select Continue.
3. On the following page, select Self-Hosted to create a Self-Hosted IR, and then select Continue.
4. Enter a name for your IR (Should be the same name as odbc DSN name i.e. SFIR) and select Create.
5. On the Integration runtime setup page, select the link under Option 2to set up manually
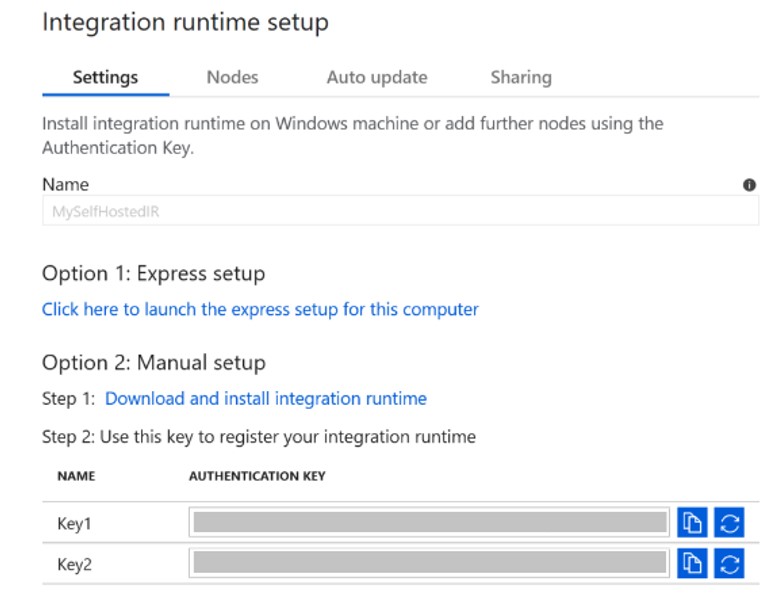
- Copy and paste the authentication key. Select Download and install integration runtime.
- Download the self-hosted integration runtime on a local Windows machine. Run the installer.
- On the Register Integration Runtime (Self-hosted)page, paste the key you saved earlier, and select Register.
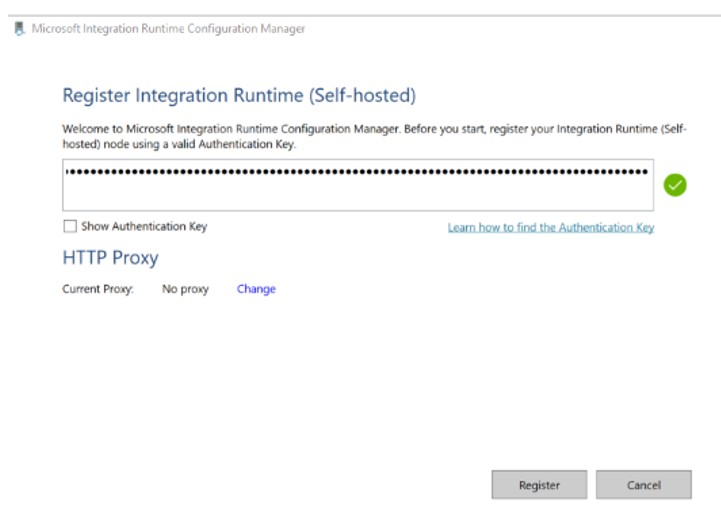
After the self-hosted integration runtime is registered successfully, you see the following window.
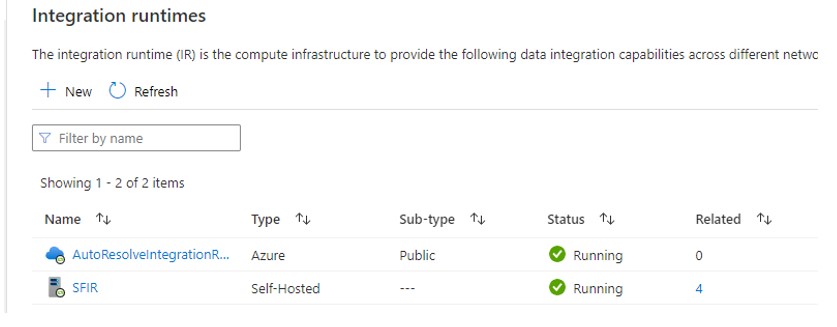
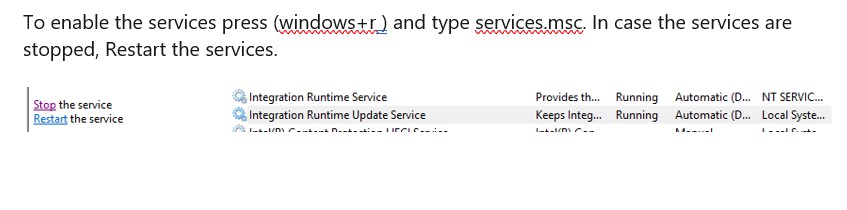
Sometimes Status is “Unavailable” and it can be the possibility that IR services are not up.
In next post we will discuss how to configure the ODBC Linked Service , Dataset pointing to the ODBC linked service and the COPY activity. Also we will verify if we are able to connect Snowflake with odbc connector.
Can we use the ODBC connector to execute Snowsql commands. For instance put command to upload a file in Snowflake internal stage.