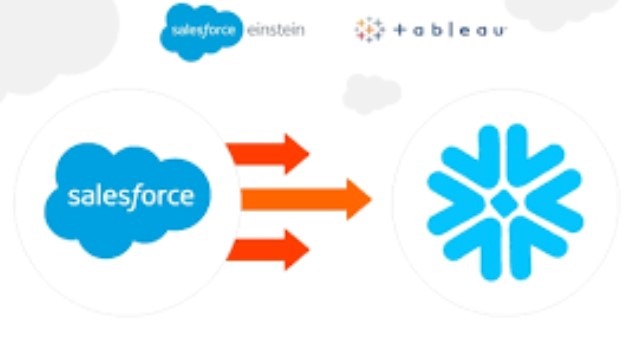
In addition of the previous post ,here we will configure local salesforce data and Data Manager inside the Salesforce CRM.
Connecting to Local Salesforce Data:
Connecting to Local Salesforce Data:
1. Firstly, Click the Connect to Data button in the Salesforce Data Manager.
2. After that, In the Input Connections tab, select the SFDC_LOCAL object for local Salesforce data.
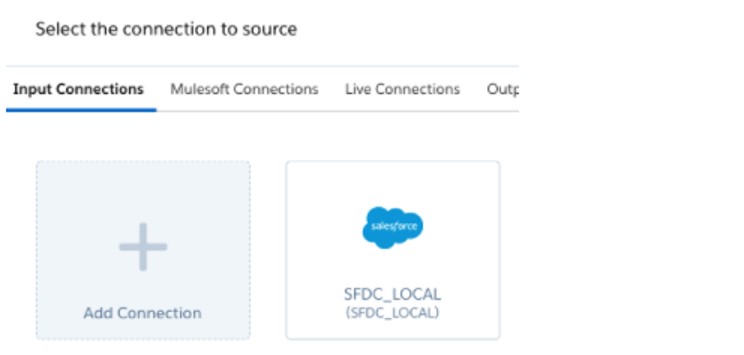
3. Select the Salesforce object that you want to sync. Click Continue.
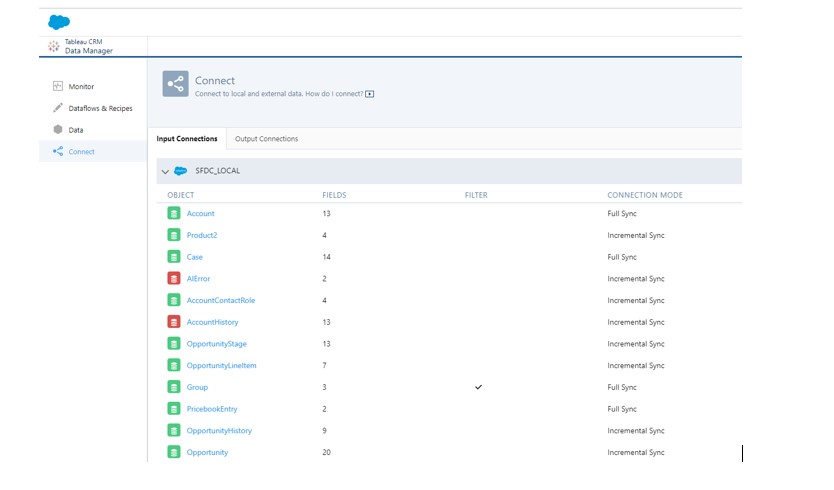
The objects and fields you want to sync will now be visible in the DM.
Enabling Sync Out and Set a Schedule;
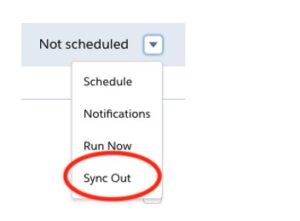
- On the right side of SFDC_LOCAL click the down arrow and select Sync Out.
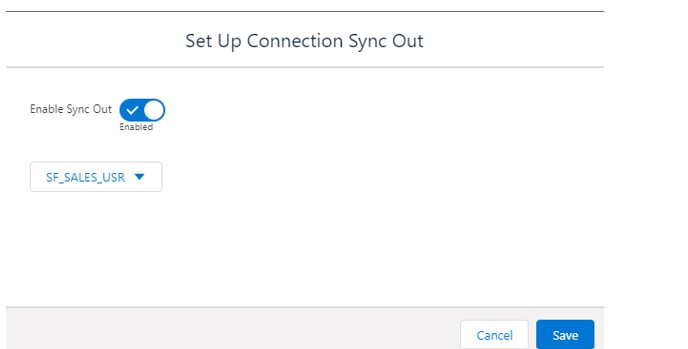
- Check the Enable Sync Out, and select the Snowflake output connection name. Click Save.
- To run the Data Sync immediately, click the same down arrow and click Run Now.
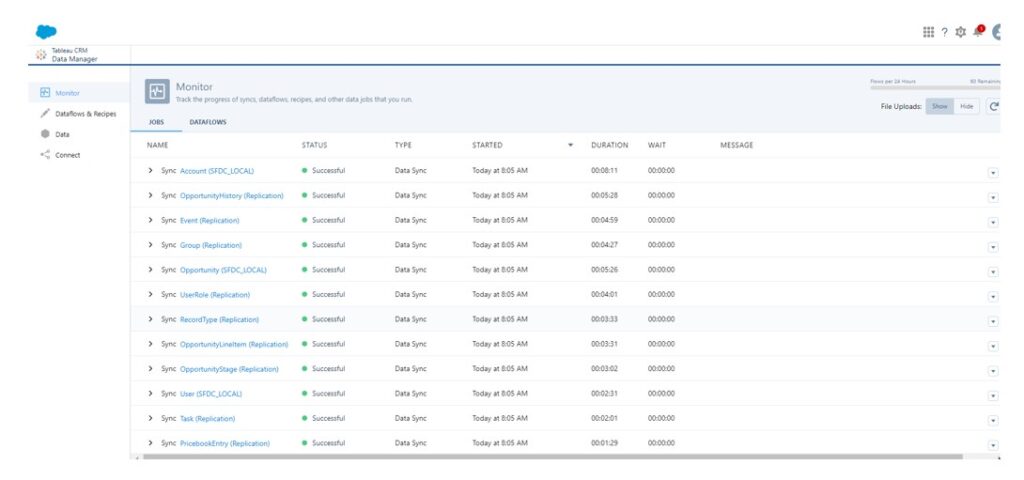
- To monitor jobs, click the Monitor tab.
Check the Job ran today in Monitor which indicates all got completed successfully.
Access the Data in Snowflake:
Login to the Snowflake with new user (created in Snowflake Objects Section)
Select the newly created Role.
View the PUBLIC schema and you can see the tables got created automatically via the Data Manager.
Name of the tables should be same as the Objects name in Salesforce.
Query the tables (yes able to get query as we have granted the required privileges to the FUTURE TABLES IN SCHEMA SF_SFDC_DB.PUBLIC TO ROLE SF_SALES;
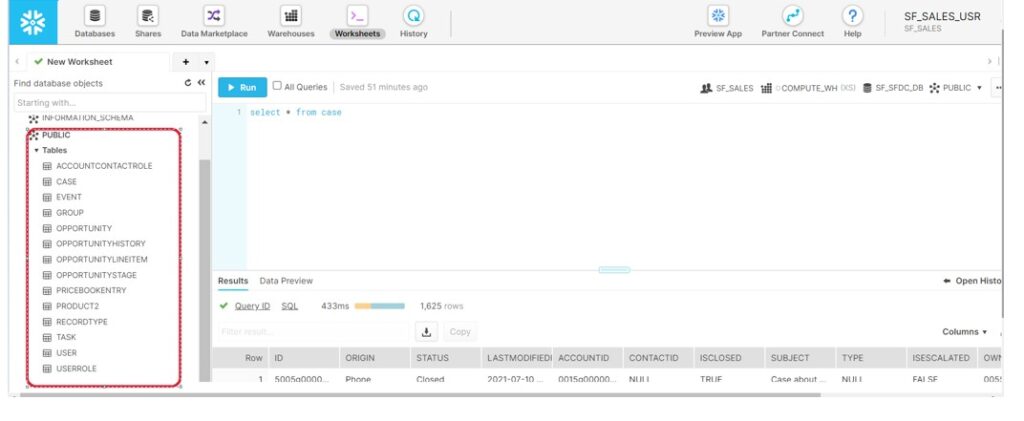
Therefore, we can see the tables (along with data )from the Salesforce gets created inside the Snowflake.
We can schedule the Data manager flow to run at the specified interval.